Baking your own sourdough gluten free bread recipe is a rewarding experience. Not only does it offer a homemade alternative to store-bought gluten-free bread, but it also adds the rich, tangy flavor characteristic of sourdough. Plus, the natural fermentation process in sourdough makes it easier to digest, particularly for those with gluten sensitivities or celiac disease. This guide will walk you through every step, from creating a gluten-free sourdough starter to troubleshooting common issues, ensuring your bread turns out perfectly every time.
Why Choose Sourdough Gluten-Free Bread?
1. Health Benefits of Sourdough Bread
Sourdough bread has been celebrated for centuries due to its fermentation process, which breaks down starches and makes the nutrients in the grains more bioavailable. In the case of gluten-free sourdough, you get the additional benefit of avoiding gluten, which can be inflammatory for some individuals. The natural fermentation process of sourdough creates probiotics, which support gut health and enhance digestion.
For individuals with gluten intolerance or celiac disease, sourdough provides a healthier and more flavorful option compared to other gluten-free bread alternatives, which often have an overly dense or gummy texture.
2. Improved Texture and Flavor
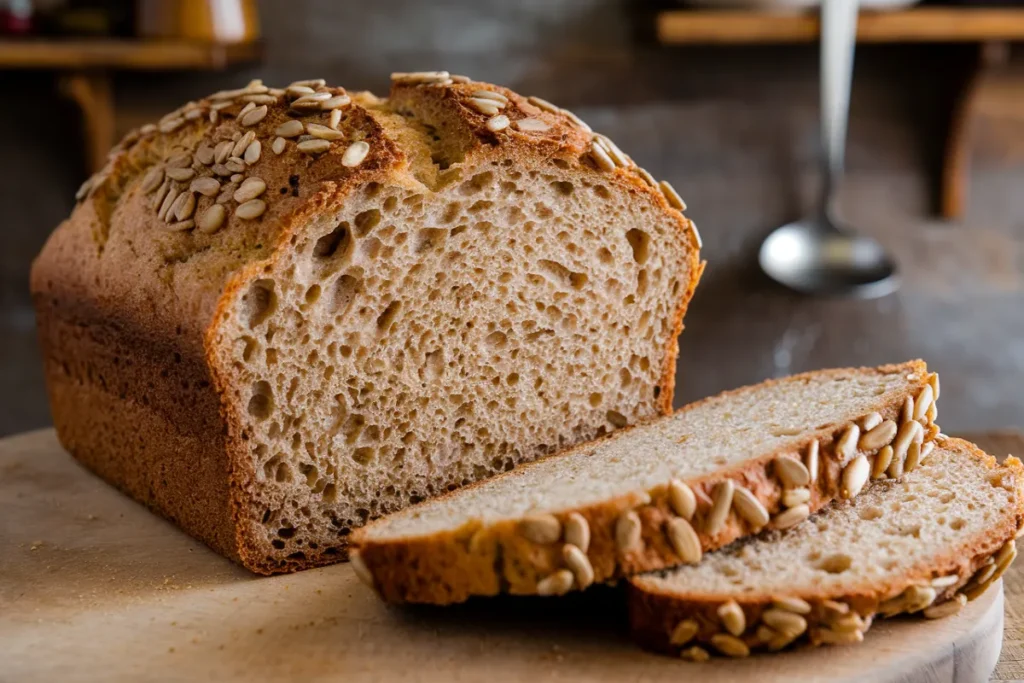
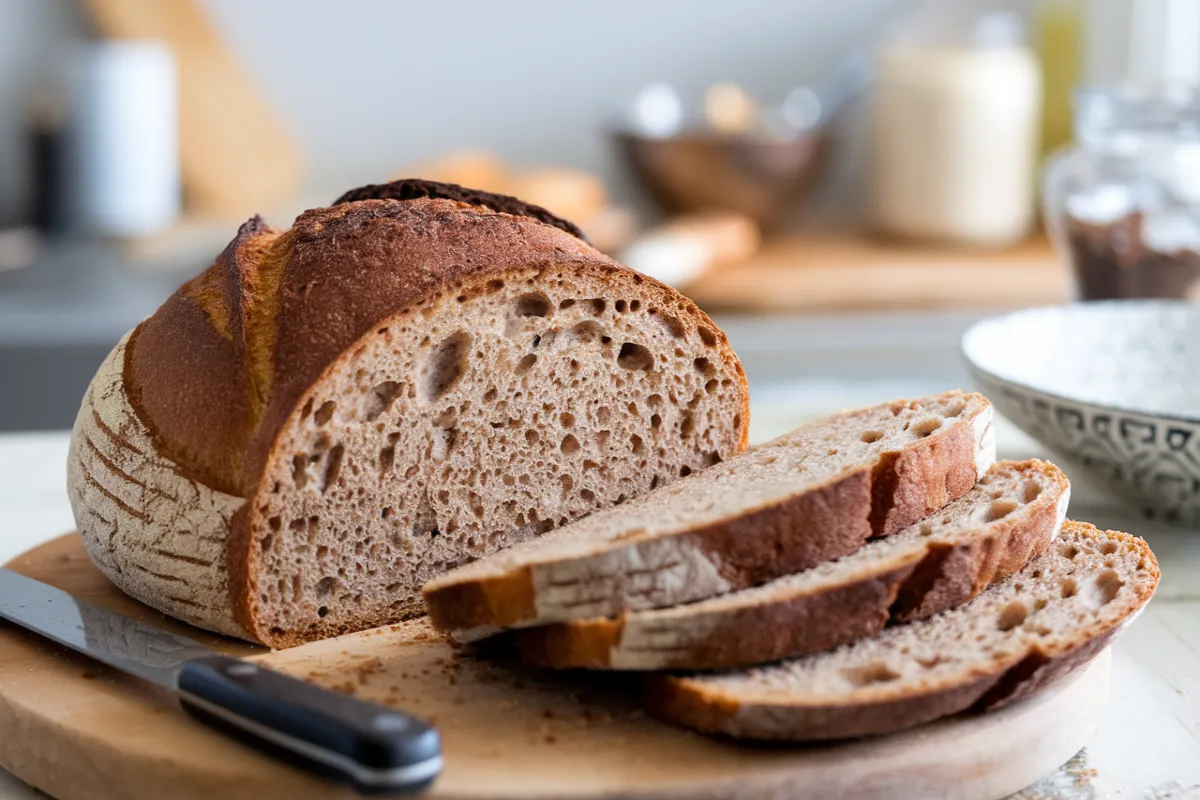
One of the biggest challenges with gluten-free bread is achieving the right texture. Traditional gluten provides elasticity and chewiness, which are difficult to replicate in gluten-free baking. However, sourdough fermentation helps improve the texture, giving the bread a more satisfying crumb and crust. Additionally, the natural tanginess of sourdough offers a depth of flavor that many gluten-free breads lack.
Looking to expand your gluten-free baking repertoire? Try this gluten-free zucchini bread recipe for a delicious alternative!
Key Ingredients for Gluten-Free Sourdough Bread

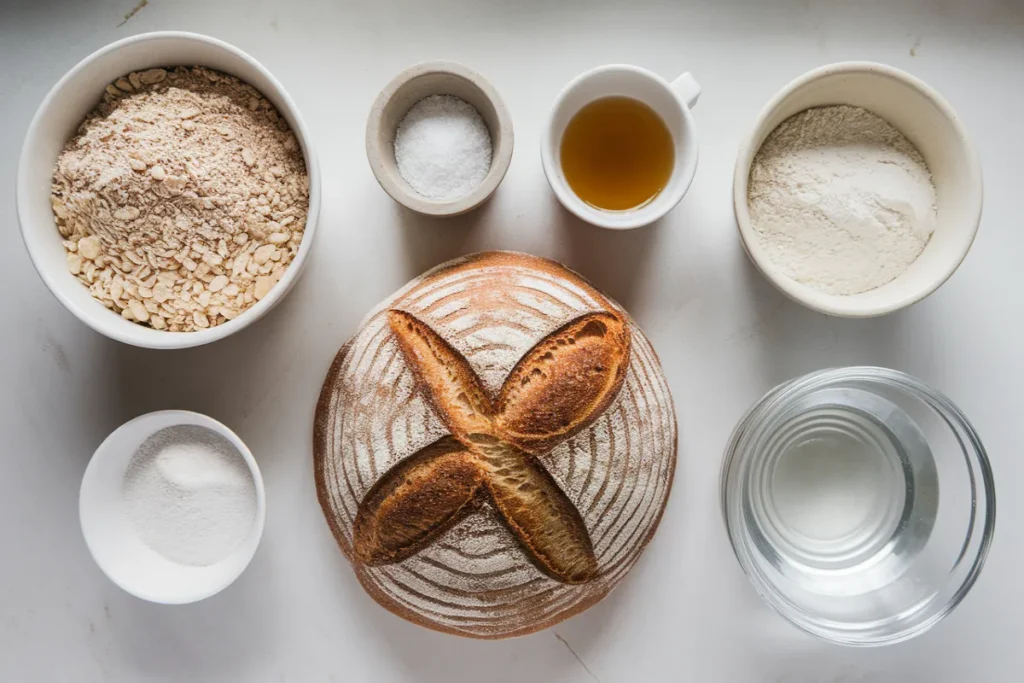
Creating the perfect sourdough gluten-free bread starts with choosing the right ingredients. Each element plays a crucial role in ensuring the bread rises well and has a good texture.
1. Gluten-Free Flour Blend
A good gluten-free sourdough loaf typically requires a flour blend that combines various gluten-free flours and starches. Here’s what you need:
- Rice Flour: A staple in most gluten-free baking, rice flour provides a neutral flavor and smooth texture.
- Tapioca Starch: Adds elasticity to gluten-free dough, mimicking some of the properties of gluten.
- Potato Starch: Helps with the structure and tenderness of the loaf.
Many bakers use pre-made gluten-free flour blends that contain these flours in balanced proportions. If you prefer, you can also make your own blend based on personal preferences and dietary needs.
2. Psyllium Husk
Psyllium husk is crucial for binding the ingredients together and providing structure to the bread. Since gluten is absent, psyllium husk acts as the binding agent that holds the dough together and gives it elasticity. Without it, the bread might crumble or become dense. Some people also use flax seeds or chia seeds as substitutes, but psyllium husk typically provides the best results.
3. Gluten-Free Sourdough Starter
Creating a gluten-free sourdough starter is the foundation of any sourdough bread. A sourdough starter is a mixture of flour and water that captures wild yeast and bacteria from the air, allowing it to ferment over time. The process takes about 5–7 days, during which the starter needs to be “fed” daily with fresh flour and water.
If you need guidance on maintaining your starter, check out this comprehensive sourdough guide.
4. Water and Salt
The final essential ingredients are water and salt. The water activates the starter and helps mix the dough, while the salt enhances the flavor of the bread.
5. Optional Add-Ins
You can also add optional ingredients to customize your sourdough bread, such as:
- Seeds (flax, sesame, or sunflower seeds for crunch)
- Herbs (rosemary, thyme, or oregano for flavor)
- Sweeteners (honey or agave syrup to balance the sourness)
How to Make Gluten-Free Sourdough Bread

Now that you have your ingredients ready, let’s dive into the step-by-step process of making gluten-free sourdough bread.
Step 1: Create the Gluten-Free Sourdough Starter
The first step is creating your sourdough starter, which will be the yeast source for your bread. Here’s how to make one:
- In a clean jar, combine ½ cup of gluten-free flour with ¼ cup of water. Stir well to combine. Cover the jar loosely with a cloth and leave it in a warm place.
- Every 24 hours, “feed” the starter by discarding half of the mixture and adding the same amounts of flour and water.
- After 5–7 days, your starter should be bubbly and have a slightly sour smell. It’s now ready to use in your bread recipe.
You can keep your starter alive by continuing to feed it daily. If you don’t plan on baking every day, store it in the refrigerator and feed it weekly.
Step 2: Mix the Dough
Once your starter is ready, it’s time to mix the dough. Here’s what you’ll need:
- 1 cup of gluten-free sourdough starter
- 3 cups of gluten-free flour blend
- 2 tablespoons of psyllium husk
- 1 ½ cups of water
- 1 teaspoon of salt
- In a large bowl, combine the starter, gluten-free flour blend, psyllium husk, water, and salt.
- Stir well until the ingredients are fully incorporated. The dough should be sticky but not too wet.
Step 3: Ferment the Dough
Fermentation is the key step in making sourdough bread, as it allows the wild yeast and bacteria to break down the sugars in the dough. This gives the bread its characteristic tangy flavor.
- After mixing the dough, cover the bowl with a cloth and let it ferment at room temperature for 4–12 hours.
- The longer you let it ferment, the stronger the sour flavor will be. For a milder taste, stick to the lower end of the fermentation window.
If you’re working with gluten-free sourdough for the first time, check out these troubleshooting tips to help solve common issues like dense or gummy bread.
Step 4: Shape the Loaf
Gluten-free dough is notorious for being sticky and harder to work with compared to traditional dough, but with the right technique, you can still shape a beautiful loaf.
- Dust your hands and a work surface with gluten-free flour to prevent sticking.
- Carefully transfer the dough onto the floured surface and shape it into a round or oval loaf.
- Place the shaped dough onto a piece of parchment paper and transfer it to a proofing basket or bowl to hold its shape while it rises.
Step 5: Bake the Bread
Once the dough has finished rising, it’s time to bake!
- Preheat your oven to 450°F (230°C) and place a Dutch oven or baking stone inside to heat up.
- When the oven is ready, carefully transfer the dough (with the parchment paper) into the hot Dutch oven or onto the baking stone.
- Cover the Dutch oven with its lid or, if using a baking stone, place a large oven-safe bowl over the bread to trap the steam.
- Bake for 35–45 minutes until the crust is golden brown and crisp. If desired, remove the lid in the last 10 minutes of baking for a deeper crust.
For more gluten-free bread ideas, explore this wholegrain sourdough recipe for beginners.
Troubleshooting Common Gluten-Free Sourdough Issues
Baking gluten-free bread, particularly sourdough, can be a bit finicky. Here are some common problems and how to solve them:
1. Sticky Dough
One of the most frequent issues with gluten-free dough is that it’s very sticky, making it hard to shape. To fix this:
- Dust your hands and surfaces with extra gluten-free flour.
- Use wet hands when handling the dough to prevent it from sticking.
2. Poor Rise
If your sourdough bread isn’t rising well, the problem might be with the fermentation process. Ensure that:
- Your starter is active and bubbly.
- You’re giving the dough enough time to ferment.
- You’re using enough psyllium husk for structure.
3. Dense or Gummy Bread
A dense or gummy loaf can result from under-fermentation or too much moisture in the dough. To avoid this:
- Ensure your dough is well-fermented. If it hasn’t risen after 12 hours, your starter might not be strong enough.
- Adjust the amount of water you use based on your flour blend.
For more guidance on gluten-free baking, take a look at these creative gluten-free recipes.
FAQs About Sourdough Gluten Free Bread Recipe
Here are answers to some common questions people have about making gluten-free sourdough bread:
Can you make gluten-free sourdough without psyllium husk?
Psyllium husk is highly recommended as it provides structure to the bread, but if you don’t have it, you can substitute it with flaxseed or chia seed gel. However, the texture may not be as good.
How do I store gluten-free sourdough bread?
Gluten-free bread can dry out quickly. Store it at room temperature for 1–2 days in a sealed container. For longer storage, slice and freeze the bread, then toast slices as needed.
Can I freeze gluten-free sourdough bread?
Yes! Freezing gluten-free sourdough is a great way to preserve it. Slice the bread before freezing for easier thawing and reheating.
Why is my gluten-free sourdough bread dense?
A dense loaf usually means the dough didn’t ferment long enough, or the starter wasn’t active. Make sure your starter is bubbly and active before mixing it into the dough.
Conclusion: Enjoy Your Homemade Sourdough Gluten Free Bread Recipe
Making sourdough gluten-free bread is a journey that requires patience, but the rewards are well worth it. By following these steps and troubleshooting tips, you’ll soon be enjoying a loaf that’s not only gluten-free but also packed with flavor, probiotics, and nutrition.
If you’re looking for more inspiration, check out this sourdough discard recipe to make the most of your starter!

