Did you know the average American eats about 36 pounds of ribs a year? That’s a lot of delicious ribs! If you want to learn how to cook ribs in the oven, you’re in the right spot. I find baking ribs in the oven makes them tender and full of flavor. They just fall off the bone.
To get perfect ribs, bake them at 275°F for two to three hours. This method ensures they turn out great every time. Plus, you can make your own barbecue sauce or use a store-bought one. Either way, your family and friends will love it!
Key Takeaways
- Ribs are a popular choice among American consumers, averaging 36 pounds per person each year.
- Baking ribs at 275°F for two to three hours yields tender ribs.
- Oven-baked ribs are simple to prepare and require minimal special equipment.
- Both homemade and store-bought barbecue sauces can elevate your rib dish.
- Understanding the cooking process ensures delicious, flavorful results.
- Perfecting your rib recipe can make you the star of any cookout.
Choosing the Right Ribs for Baking
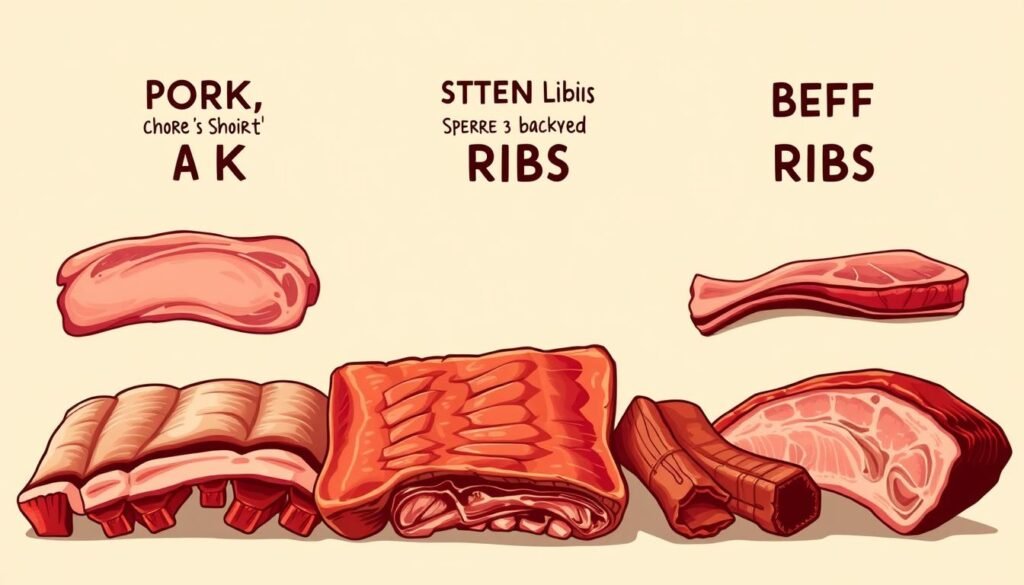
Choosing the right ribs is key for great flavor and tenderness. The type you pick can really change your dish. Knowing the differences between ribs ensures a great cooking experience.
Types of Ribs: Baby Back vs. Spare Ribs
Baby back ribs are loved for their tenderness and mild taste. They come from the top of the pig’s ribcage and are shorter. Spare ribs, from the bottom, have more meat and fat, making them richer in flavor.Click here learn about how to cook tofu.
Both types are good in the oven, but cooking times can differ.
Bone-In vs. Boneless Options
Bone-in ribs offer better flavor and a more satisfying bite. Boneless ribs might be easier to handle but can miss out on rich bone flavors. I prefer bone-in ribs, like baby back and spare, for the best taste.
Buying Fresh vs. Frozen Ribs
Fresh ribs taste better and have a better texture. I always choose fresh ribs if I can. But, frozen ribs are a good option if stored right. They keep their flavor well and are handy when fresh ribs are not available.
Preparing Your Ribs for Cooking
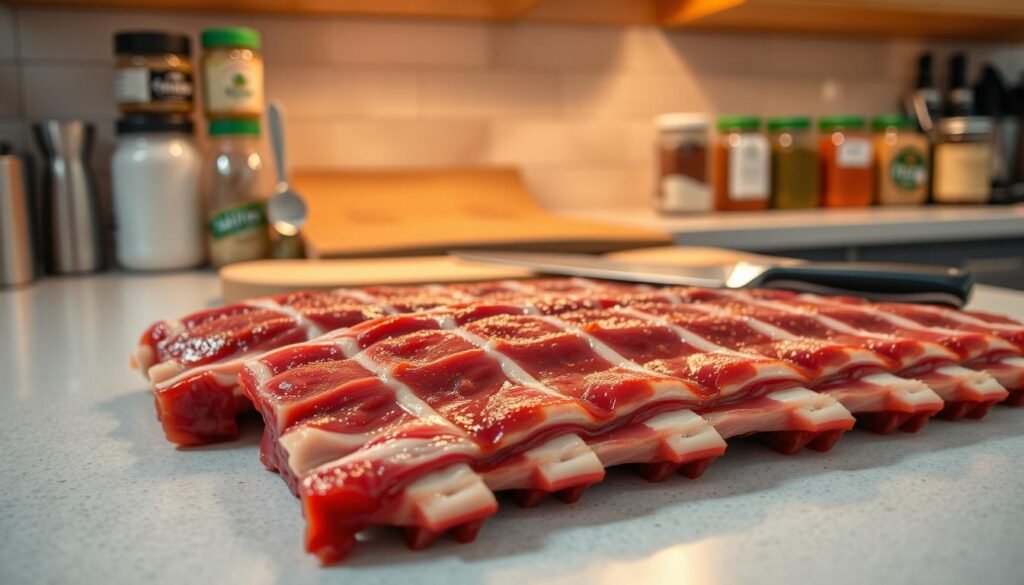
Getting your ribs ready is key to tender and tasty results. A few important steps can turn your ribs into a mouthwatering dish. I focus on three main steps: removing the membrane, trimming fat, and either marinating the ribs or using a dry rub for flavor.
Removing the Membrane
Removing the membrane on the back of the rib rack is my first step. This thin layer can make the ribs tough during cooking. To remove it easily, I use a paper towel to grip the membrane and pull it off in one smooth motion. This simple step greatly improves the texture.
Trimming Excess Fat
Trimming fat is another crucial step in preparing ribs. I remove any extra fat to avoid greasy results. A small amount of fat is okay, as it adds flavor and moisture. I make sure my ribs are neat and ready for seasoning.Click here learn about how to cook rice.
Marinating or Dry Rubbing
After preparing the ribs, it’s time to add flavor. I often choose between marinating the ribs in a flavorful liquid or applying a dry rub. If marinating, I let them soak for several hours or overnight to soak up the flavors. For a dry rub, I apply a mix of spices, including salt and pepper or a custom blend. Both methods enhance the ribs’ taste and prepare them for a delicious meal.
Essential Tools for Cooking Ribs
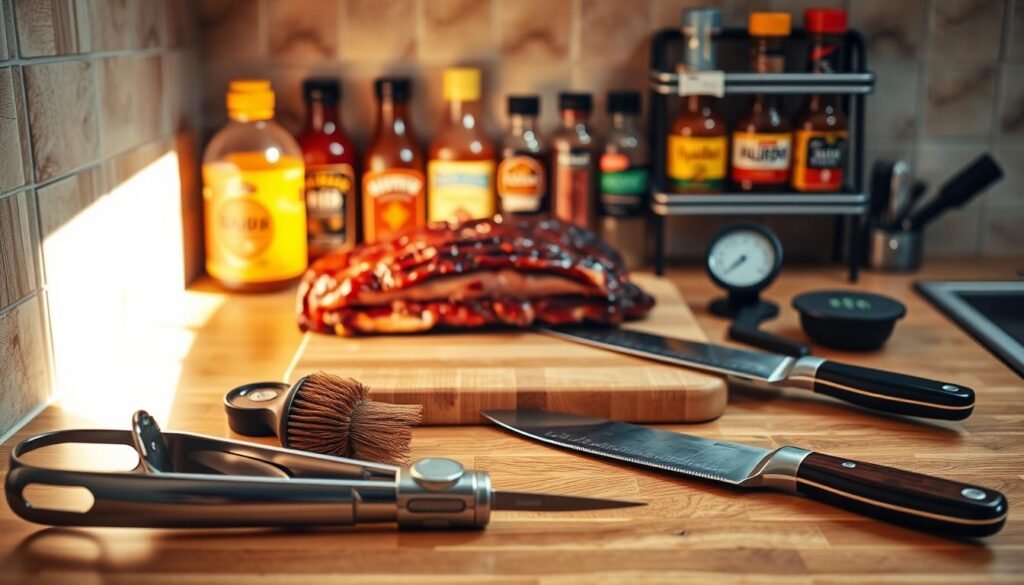
Cooking ribs needs specific tools for efficiency and fun. The right tools can make your cooking better. This section covers key items for preparing and cooking ribs.
Required Kitchen Utensils
First, you need the right kitchen tools for ribs. Here are the essentials:
- Sharp knives for trimming and preparing the meat.
- Cutting boards to provide a safe surface for cutting.
- Baking sheets lined with aluminum foil for easy cleanup.
- Wire racks to ensure even cooking throughout the ribs.
Recommended Baking Equipment
The right baking gear can greatly improve your ribs. I recommend:
- Casserole dishes to contain the ribs if you’re braising.
- Heavy-duty aluminum foil for wrapping your ribs while cooking.
- Roasting pans that can withstand high oven temperatures.
Thermometer for Perfect Cooking
A reliable meat thermometer is key for ribs. It tracks the meat’s internal temperature, ensuring it’s cooked right. This way, I get tender and juicy ribs every time. A good thermometer is a must for perfect ribs.
Making Your Own Rib Seasoning
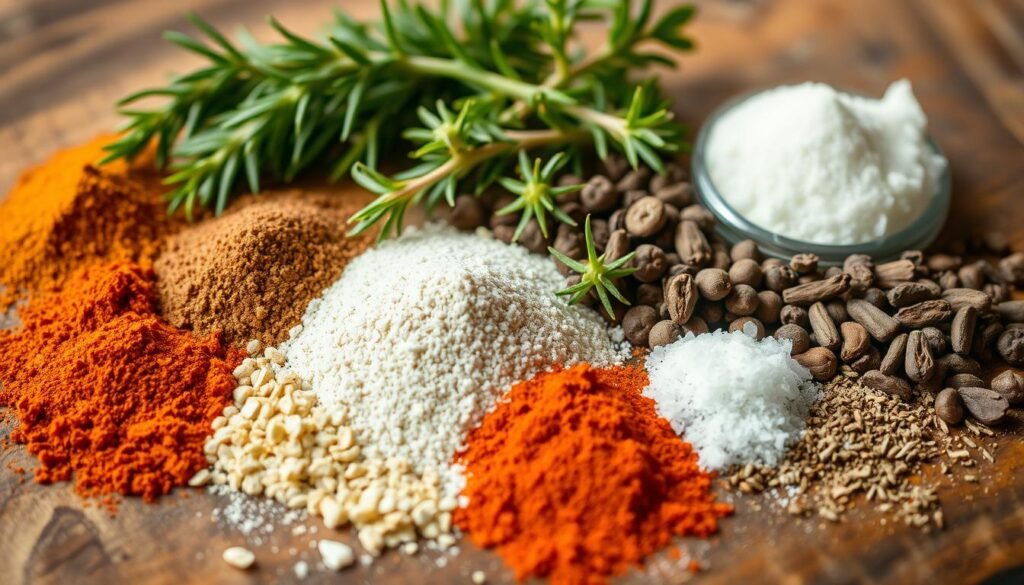
Making your own rib seasoning adds a personal touch that makes the flavor better. A basic spice mix for ribs includes key ingredients that boost the taste. When I make my rib seasoning, I use paprika, garlic powder, and brown sugar. This mix is a great starting point.
Basic Spice Mix Ingredients
To start making your rib seasoning, focus on these essential ingredients:
- Paprika
- Garlic powder
- Brown sugar
- Onion powder
- Black pepper
- Salt
Customizing Your Rib Rub
Customizing your homemade rub can make it even better. I like to add cayenne pepper for heat or mustard powder for a tangy flavor. This lets me adjust the seasoning to my liking or what my guests prefer.
Storing Leftover Spice Mix
After making your spice mix, think about how to store it. I always use an airtight container to keep it fresh. Storing it in a cool, dark place in my kitchen keeps it ready for next time.Click here learn about how to cook asparagus.
Cooking Methods: Low and Slow vs. High Heat
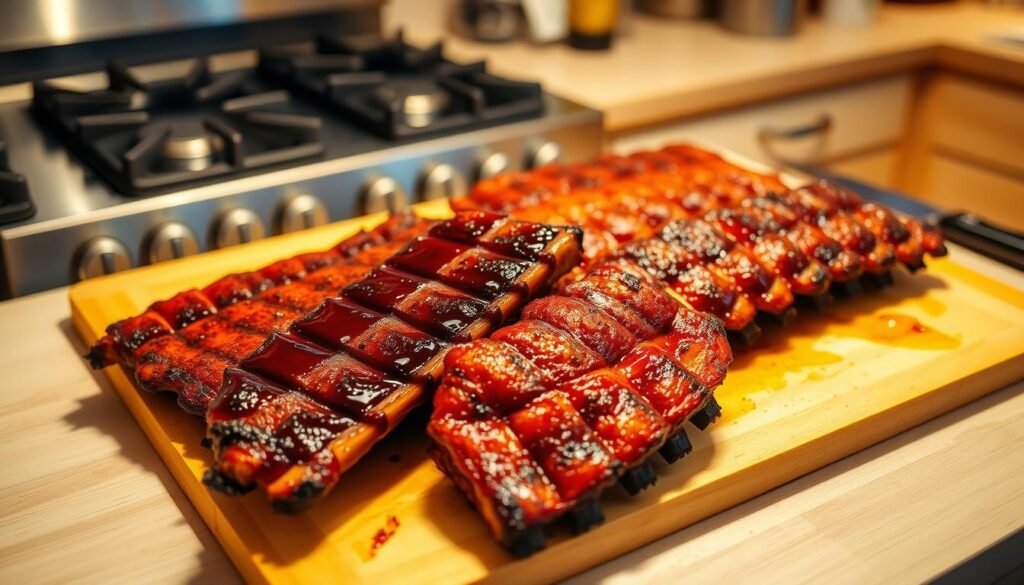
Learning about cooking methods for ribs can really improve their taste and softness. I often pick between low and slow cooking and high heat. Each method has its own benefits, so I adjust based on the event and how much time I have.
Benefits of Low and Slow Cooking
Cooking ribs low and slow, around 275°F, breaks down connective tissues slowly. This makes the ribs tender and juicy, full of flavor. The long cooking time also spreads the heat evenly, making every bite delicious. I suggest this for special events where quality is key.
Quick Cooking at Higher Temperatures
High heat cooking is great for saving time. I can cook ribs at over 400°F when I’m in a rush. While it might not be as tender or flavorful as low and slow, it’s good for quick dinners. Just watch the time to prevent the meat from drying out.
When to Use Each Method
I usually choose low and slow cooking for its rich taste, perfect for guests. High heat is better when I’m short on time but still want tasty ribs. With practice, I can master both methods, enjoying great results no matter the schedule.
| Cooking Method | Temperature | Cooking Time | Tenderness | Flavor Absorption |
|---|---|---|---|---|
| Low and Slow | 275°F | 4-6 hours | Very Tender | High |
| High Heat Cooking | 400°F | 1.5-2 hours | Moderately Tender | Moderate |
The Baking Process: Step-by-Step Guide
Baking ribs can be a fun experience. It’s all about following the right steps for delicious results. Knowing the best oven temperature and a structured method is key. Let’s go through the important steps for cooking ribs.
Preheating the Oven
Begin by heating your oven to 300°F. This temperature is perfect for ribs. It helps them cook evenly and keeps them moist. Setting the oven right ensures your ribs will be tender and tasty.
Wrapping Ribs in Foil
Then, wrap your seasoned ribs in aluminum foil. This step is crucial. It keeps the meat moist by trapping steam. The foil creates a mini oven that cooks the ribs slowly.
Cooking Time and Temperature
Cooking time is usually 2 ½ to 3 ½ hours. Halfway through, check if the ribs are tender. This is important for the right texture. Use an internal thermometer to check for 185-200°F. For more tips, see this guide on cooking ribs.
Saucing Your Ribs for Extra Flavor
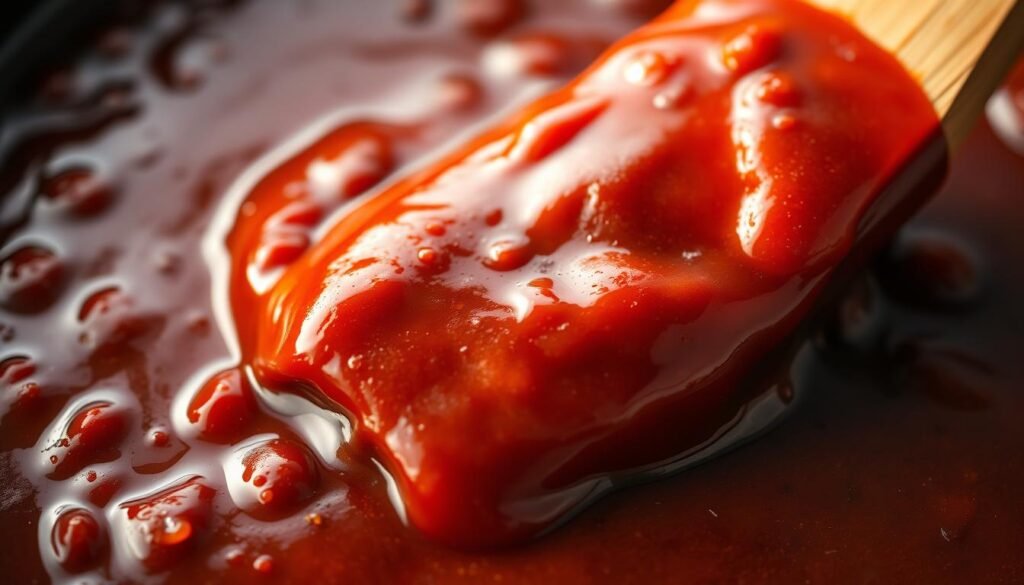
Adding BBQ sauce to ribs can make a simple meal into a special treat. I love trying different saucing methods to find the best match for ribs. Whether it’s a homemade sauce or a favorite store-bought one, BBQ sauce makes the ribs even better.Click here learn about how to cook broccoli.
Best BBQ Sauce Options
There are so many BBQ sauce choices out there. Some favorites include:
- Sweet and tangy sauces that enhance natural flavors
- Spicy varieties for those who crave a kick
- Smoky barbecue sauces that add depth
I often make my own sauce using common ingredients. For a great recipe, check out my homemade BBQ sauce for ribs. It’s a mix of vinegar, ketchup, and spices.
Applying Sauce During Cooking
Getting the sauce right is key for a tasty glaze. I put the BBQ sauce on the ribs towards the end of cooking. This way, it caramelizes without burning. I start by covering the bonier side with sauce and baking for 10 minutes.
Then, I flip the ribs and add more sauce. Baking for another 5 minutes gives a thick, tasty coat.
Finishing Techniques for Saucy Ribs
To make the ribs stand out, I use broiling or grilling. This adds a sticky glaze that looks and tastes great. A quick broil after adding the sauce makes the sauce’s color pop and flavors deepen.
The result is ribs that are beautifully glazed and juicy. They’re so good, everyone wants seconds.
Resting and Slicing Your Ribs
After baking my ribs, I always stress the need to rest them. This short rest lets the juices spread evenly, boosting flavor and moisture. It turns good ribs into amazing ones, making each bite super juicy.
Importance of Resting Time
Resting ribs for 10 to 15 minutes is crucial. It lets the heat settle and keeps juices in when slicing. This step greatly improves taste and texture. I cover the ribs loosely with foil to keep them warm.
How to Slice Ribs for Serving
For slicing ribs, a sharp knife is essential. Cutting between the bones gives a clean slice and makes serving easier. Here are some tips for the best results:
- Use a sharp, long knife to glide through the meat without tearing it.
- Angle the knife to follow the rib bones for neat, individual servings.
- Slice in even portions, roughly 1 to 2 bones per serving, for consistency.
Presentation Ideas for Ribs
How you present ribs matters a lot. I like to serve them on a large wooden platter or a stylish tray. Adding garnishes like fresh parsley or sliced green onions makes it look even better. Serving ribs with sides or dips adds to the feast.
| Aspect | Detail |
|---|---|
| Resting Time | 10-15 minutes |
| Knife Type | Sharp and long |
| Slicing Method | Between the bones |
| Presentation Ideas | Wooden platter with garnishes |
Side Dishes to Serve with Ribs
Choosing the right side dishes can make a rib feast even better. A good mix of side dishes for ribs brings out the flavors and makes the meal inviting. I always look for classic rib accompaniments that make my ribs taste amazing.
Classic Accompaniments
Classic sides like creamy coleslaw, sweet baked beans, and buttery cornbread are perfect with ribs. Coleslaw adds a nice crunch, while baked beans add sweetness. Cornbread adds a satisfying texture to the meal.
Refreshing Salads and Slaws
For a lighter option, try refreshing salads. A no-cook salad with lettuce and cherry tomatoes, or a slaw with cabbage and apples, adds brightness. A green bean salad with vinaigrette and feta is also a great contrast to the ribs. For more ideas, check out this collection of side dishes for ribs.
Easy Recipe Ideas
For easy recipes, try creamy mashed potatoes or a zesty potato salad. Fried green tomatoes add a fun twist and are quick to make. These serving suggestions will make your dinner a success.
Storing and Reheating Leftover Ribs
After enjoying a delicious meal of ribs, I often find myself with some mouthwatering leftovers. To ensure the best flavor and texture, I use airtight containers. This method effectively preserves their moisture and keeps them safe for later enjoyment. Proper refrigeration techniques are essential to maintaining the quality of my food, allowing me to savor those tasty ribs again without compromising their deliciousness.
When it comes to reheating leftover ribs, I have a few preferred methods. I usually opt for the oven, as it evenly heats the ribs while maintaining their tenderness, but the microwave or air fryer can also be great options for quick warmth. When reheating, I make sure to follow the recommended steps, which include covering the ribs with aluminum foil to lock in moisture. To learn more about effective reheating strategies, I often refer to this great resource on reheating leftover ribs.
In addition to reheating, I love exploring creative rib recipes to make the most of my leftovers. From transforming the meat into BBQ sandwiches to incorporating it into tacos or casseroles, there are countless ways I can repurpose ribs. Getting creative with my leftover ribs not only helps minimize waste but also keeps dinner exciting and flavorful.
FAQ
What is the best temperature to cook ribs in the oven?
The best temperature for baking ribs is 275°F. This low and slow method makes the meat tender and flavorful.
How long should I bake my ribs?
Bake ribs for 2 to 3 hours. Check for tenderness halfway to get the perfect texture.
Should I remove the membrane from the ribs?
Yes, removing the thin membrane is crucial. It can get tough during cooking and affect the texture.
How can I enhance the flavor of my ribs?
Enhance flavor by seasoning with a dry rub or marinating before baking. A mix of salt, pepper, and spices works well.
What equipment do I need to cook ribs effectively?
You’ll need basic kitchen tools like cutting boards and knives. Also, a baking sheet, wire rack, and meat thermometer are essential.
Can I use store-bought BBQ sauce instead of homemade?
Absolutely! Store-bought BBQ sauces can add great flavor when applied towards the end of cooking.
How do I slice the ribs for serving?
After resting, use a sharp knife to slice between the bones. This makes each piece look appealing for your guests.
What are some good side dishes to serve with ribs?
Traditional sides include coleslaw, baked beans, and cornbread. For a lighter option, add refreshing salads!
What is the best way to store leftover ribs?
Store leftover ribs in airtight containers in the fridge. This keeps their quality and flavor.
How can I reheat leftover ribs?
Reheat ribs in the oven, microwave, or air fryer. Each method helps keep them tender and delicious.
