Did you know over 200 million hams are eaten in the United States each year? This shows how much people love ham, even more during holidays. Cooking a ham is more than just a task; it’s a fun way to make any event special. I’ll teach you how to make a ham that’s both juicy and delicious.
We’ll cover everything from picking the right ham to different cooking methods. You’ll learn how to make a ham recipe that will wow your guests.
Key Takeaways
- Understanding different types of ham can enhance your dish’s flavor.
- Essential tools make cooking ham smoother and more efficient.
- Preparing your ham correctly sets the stage for success.
- Experimenting with glazes can elevate your ham to new levels.
- Proper cooking techniques ensure a juicy ham every time.
Understanding Different Types of Ham
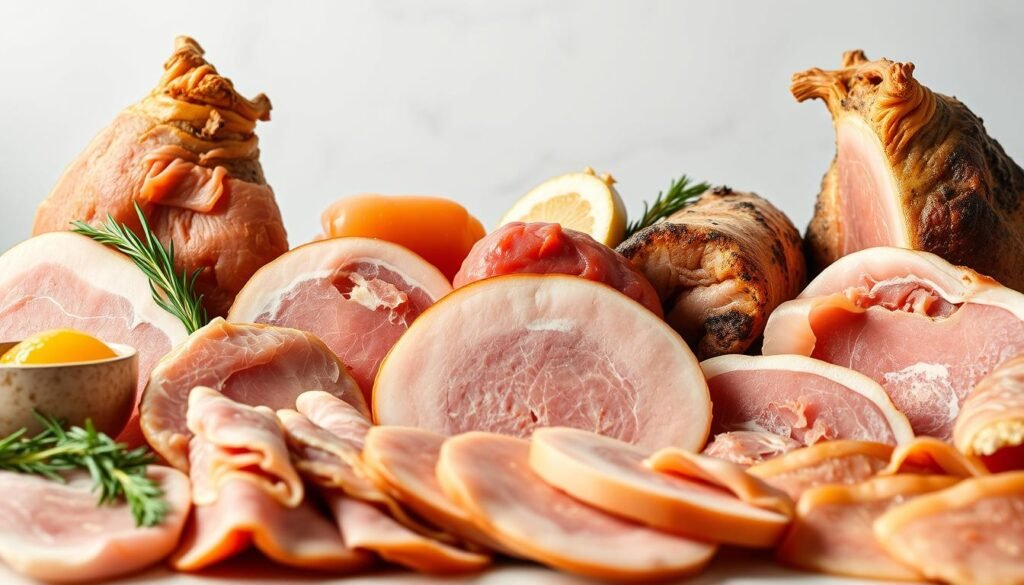
Choosing the right ham can really make a difference in your dishes. There are many types of ham, each with its own special qualities. Bone-in and boneless hams are two of the most popular.
Bone-In vs. Boneless: What’s the Difference?
Bone-in hams are juicier and taste better because of the bone. The bone keeps the meat moist, giving it a richer flavor. Boneless hams, on the other hand, are easier to slice. This makes them great for sandwiches and dishes where you want uniform pieces.
I usually choose a semi-boneless ham. It has the flavor of a bone-in ham but is easier to carve.
Choosing the Right Ham for Your Dish
Think about the size of the ham you need. A 4 to 5 kg ham can feed 12 to 20 people, perfect for big gatherings. Consider the occasion and how you plan to cook it. Different hams work better for baking, grilling, or slow-cooking.
| Type of Ham | Attributes | Best Use |
|---|---|---|
| Bone-In Ham | Flavorful, juicy, more moisture | Special occasions, holiday meals |
| Boneless Ham | Easy to slice, convenient | Sandwiches, everyday meals |
| Semi-Boneless Ham | Balanced flavor and ease | Versatile for various dishes |
By considering these factors, you can pick the perfect ham for your next meal. Each type of ham adds something special to your dishes, making your meals even better.
Essential Tools for Cooking Ham
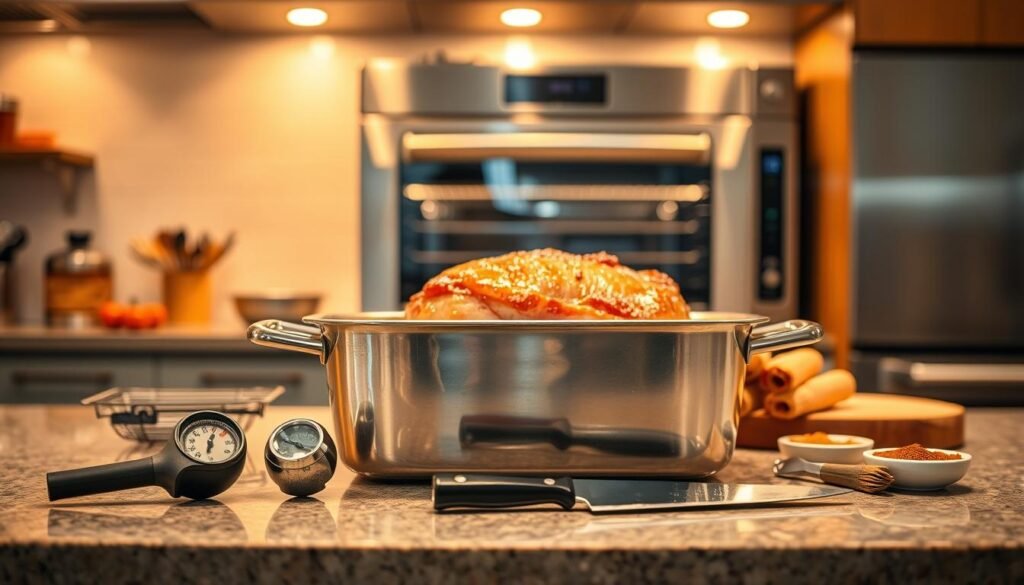
When cooking a delicious ham, having the right cooking tools is key. Each tool is important for a smooth cooking process. With the right ham cooking equipment, I can focus on making a tasty meal without stress.
Must-Have Kitchen Equipment
Here’s a quick list of essential items I make sure to have ready:
- Roasting pan: A sturdy roasting pan is vital for cooking the ham evenly.
- Aluminum foil: Useful for covering the ham to retain moisture during cooking.
- Meat thermometer: This tool helps me monitor the internal temperature for perfect doneness.
- Basting brush: Ideal for applying glaze or keeping the ham moist as it cooks.
Preparing Your Workspace
Having an organized preparing workspace makes cooking easier. I always clean my countertop and arrange all tools and ingredients before starting. This includes:
- Clearing space for the ham and any additional ingredients needed for glazing.
- Arranging my cooking tools within arm’s reach to avoid unnecessary movement during preparation.
- Checking that my oven is preheated to the correct temperature before placing the ham inside.
Preparing Your Ham for Cooking
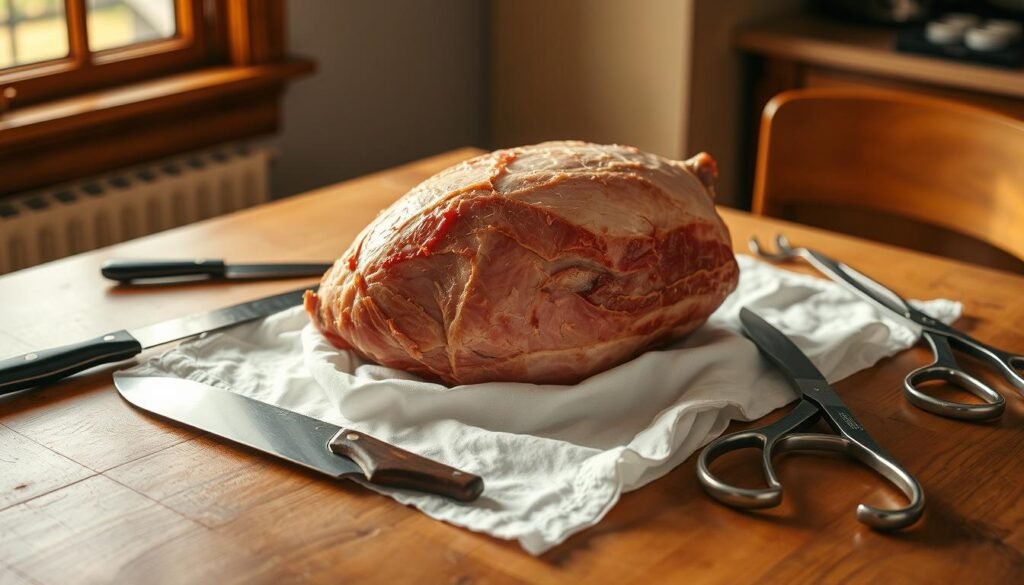
Getting your ham ready for cooking is key to a tasty meal. Make sure it’s thawed and scored right for better flavor and cooking. When I thaw a frozen ham, I plan ahead. This step is crucial for the final taste.
Thawing a Frozen Ham Safely
Thawing your ham safely is important for both taste and health. I let it thaw in the fridge for at least 24 hours for every 5 pounds. This keeps it juicy and prevents harmful bacteria.
After thawing, I know the ham will cook evenly and well. It’s a simple step that makes a big difference.
Scoring the Ham: Why it’s Important
After thawing, scoring the ham is next. I use a sharp knife to make shallow cuts in a diamond pattern, about 1 cm deep. This step boosts flavor as glazes and seasonings get in.
It also makes the ham look great when it’s cooked. Scoring is a small effort that makes a big difference in taste and looks.
Glazing Your Ham
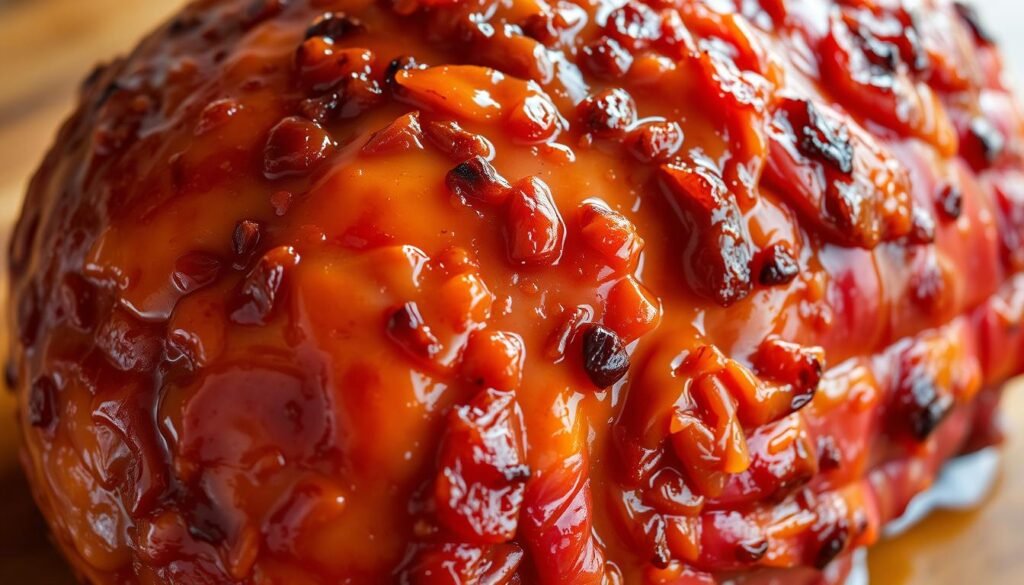
Glazing ham turns it into a stunning centerpiece. The right glaze boosts flavor and looks great. Classic glazes mix sweet and tangy, perfect with ham’s savory taste.
Classic Glaze Recipes to Try
There are timeless glaze recipes for ham. A mix of brown sugar, honey, and orange juice is sweet and tangy. Another great choice is a maple glaze, with pure maple syrup and Dijon mustard for depth. I love trying these, making sure to cover the ham well as it cooks.
Tips for Achieving a Perfect Glaze
Timing is key for a perfect glaze. Start glazing in the last hour of cooking. Glaze every 10-15 minutes to caramelize sugars without burning.
Watch the heat; high temperatures caramelize faster but can burn. Be careful not to char the glaze.
Cooking Methods for Ham
There are many ways to cook ham, each with its own taste and texture. Whether baking, slow cooking, or grilling, the right method makes a big difference. It can turn a simple meal into something special.
Baking: The Traditional Approach
Baking is the classic way to cook ham. I preheat the oven to 325°F and put a bone-in ham on a rack in a roasting pan. Cooking it for about 10 minutes per pound is a good rule of thumb.
This method cooks the ham evenly and brings out the flavors. The juices that come out while it bakes add to the savory taste.
Slow Cooking: A Hands-Off Method
Slow cooking ham is perfect for easy days. I just put the ham in the slow cooker with some seasonings. Then, I let it cook on low for hours.
The result is tender meat that’s full of flavor. It’s like it’s melting in your mouth, thanks to the slow cooking.
Grilling Ham: A Unique Twist
Grilling ham adds a smoky flavor that’s exciting. I marinate or glaze the ham first. Then, I grill it, keeping an eye on the temperature.
The heat caramelizes the glaze, making a sweet crust. This contrasts beautifully with the juicy meat inside.
Determining Cooking Time
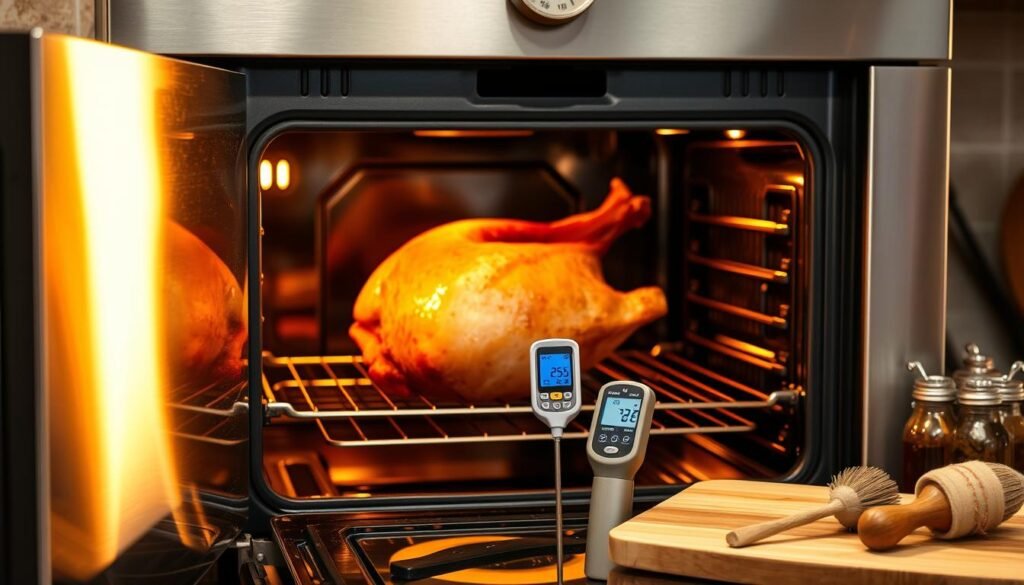
Knowing how long to cook ham is key for the perfect taste and texture. I cook ham at 325°F, which is about 10 minutes per pound for a bone-in ham. This method makes sure your meat is cooked just right.
How to Calculate Cooking Time Based on Weight
When planning a meal, the ham’s size matters. Here’s a simple table for cooking times based on weight:
| Ham Weight (lbs) | Cooking Time (hours) |
|---|---|
| 5 | 1 – 1.5 |
| 8 | 2 – 2.5 |
| 10 | 2.5 – 3 |
| 12 | 3 – 3.5 |
| 15 | 3.5 – 4 |
Using a Meat Thermometer for Precision
A meat thermometer is essential for perfect ham. For fully cooked hams, aim for 140°F. For partially cooked hams, 155°F is the goal. Remember, the temperature will rise a bit after it’s out of the oven, so take it out a few degrees early.
Adding Flavor Through Seasoning
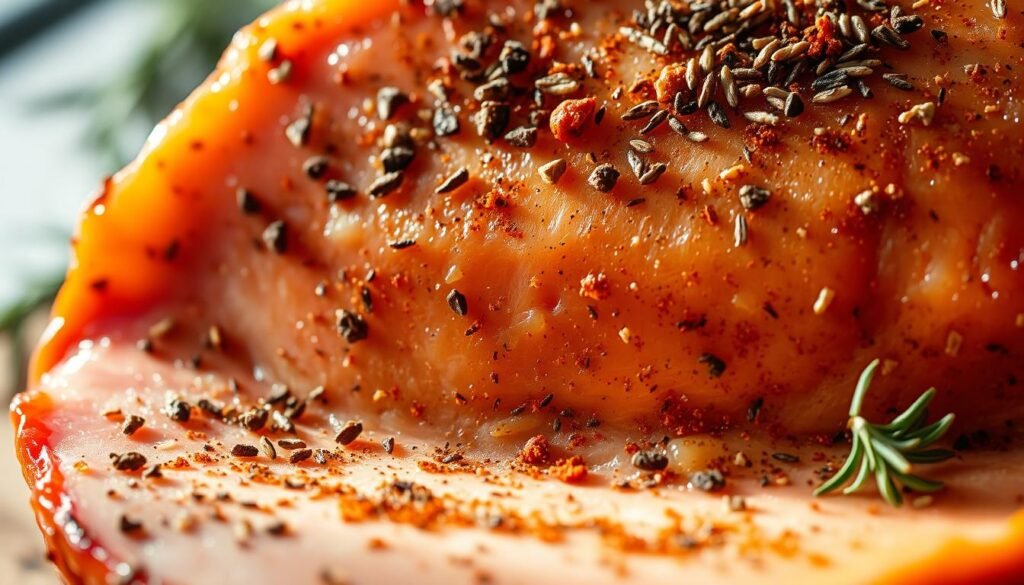
Seasoning ham right can make a big difference. Ham’s natural sweetness and savory taste are perfect for adding flavors. I love trying out different herb mixes to bring out the best in ham.
Herb and Spice Combinations to Enhance Taste
Herbs can add depth to ham’s flavor. Rosemary, thyme, and garlic are a great mix. They enhance the meat’s richness without being too much. For a bit of spice, try adding red pepper flakes or black pepper. Here’s a table with some herb combinations:
| Herb Combination | Flavor Profile |
|---|---|
| Rosemary, Thyme, Garlic | Savory, Earthy |
| Honey, Mustard, Dill | Sweet, Tangy |
| Pineapple Juice, Ginger, Soy Sauce | Sweet, Asian-inspired |
| Apple Cider Vinegar, Sage, Brown Sugar | Sweet, Tart, Herbaceous |
Marinating Your Ham: A Flavorful Option
Marinating ham is another way to add flavor. It keeps the meat moist and enhances the taste. Mix fruit juices, spices, and herbs for the marinade. Let it soak for hours or overnight.
This method deepens the flavor and highlights the ham’s natural taste. Make sure the marinade complements the meat, not overpowers it. For more glaze ideas, check out this link.
By trying these seasoning methods, I can make a tasty centerpiece for any event. The possibilities for flavor are endless!
Serving Suggestions for Ham
Once I have that delicious ham ready, my thoughts turn to pairing it with the perfect side dishes. The right accompaniments can truly elevate the meal and create a memorable dining experience. I’ll outline a few classic options that work wonders with ham, enhancing its savory flavors.
Side Dishes That Pair Well with Ham
When considering side dishes with ham, my go-to selections include:
- Green Beans: Fresh or sautéed, they offer a crisp contrast to the rich ham.
- Scalloped Potatoes: Creamy and cheesy, this dish is like a warm hug on the plate.
- Roasted Vegetables: A colorful assortment of carrots, Brussels sprouts, and sweet potatoes adds vibrance and nutrition.
Creative Leftover Ham Ideas
The creativity doesn’t end at the main course. Leftover ham recipes can transform simple ingredients into extraordinary meals. For instance, I love to:
- Make Ham and Potato Soup: A hearty dish, utilizing any frozen hash browns I have on hand, is perfect for a cozy evening.
- Whip Up Ham Pancakes: These savory treats paired with honey mustard sauce are a breakfast favorite.
- Prepare a Ham and Cheese Frittata: Diced ham makes for a delightful addition to brunch.
Check out more creative options like leftover ham recipes that can inspire your next meal.
Common Mistakes to Avoid
Cooking a perfect ham is a joy, but it has its challenges. Many of us make common mistakes that can spoil this special dish. The secret to success is knowing when to stop cooking and letting the ham rest.
Overcooking vs. Undercooking: Finding Balance
One big mistake is overcooking the ham. This makes it dry and tasteless. A meat thermometer is key to avoid this. It ensures the ham is cooked right for safety and taste.
Undercooking is also a risk. It’s important to find the perfect balance to avoid health issues.
Ignoring Resting Time After Cooking
Many forget the importance of letting the ham rest. This step is crucial. It lets the juices spread, making the ham juicy and flavorful.
Skipping this step can ruin the dish. The flavors won’t spread evenly, leaving some parts tasteless.
For more tips on avoiding ham cooking mistakes, check out this resource. It covers common errors and how to avoid them.
Storing Leftover Ham
Storing leftover ham right keeps its taste fresh and safe to eat. Knowing how to store it well changes how you use your kitchen. It also helps reduce food waste. Planning ahead is key if you want to enjoy your ham for more than a few meals.
Best Practices for Refrigeration
To store ham in the fridge, I wrap it tightly in aluminum foil or use an airtight container. This keeps moisture in and bacteria out. Leftover ham stays good for 3-5 days in the fridge, kept at 34°F to 40°F (1°C-4°C).
I store it on a lower shelf or in a meat drawer to avoid contamination. This keeps it safe and fresh.
How to Freeze Ham for Future Meals
Freezing leftover ham is a great way to save it for later. Before freezing, I slice the ham into easy-to-use portions. Vacuum-sealed bags or heavy-duty aluminum foil work best for this.
Cooked leftover ham can be frozen for up to three months. This is perfect for quick meals later. With proper storage, my leftover ham stays tasty and fresh whenever I’m ready to eat it again.
Special Occasion Ham Recipes
Ham is a classic choice for special occasions. It’s versatile, making it perfect for any gathering. Whether it’s a holiday or a weeknight dinner, ham recipes can make any meal memorable.
Holiday Favorites: Easter and Christmas
Holiday ham is a staple at Easter and Christmas. A honey-glazed ham with pineapple or a maple-glazed ham with spice adds warmth. The glazes make the meat tender and sweet.
Adding spices like cloves or cinnamon makes it even better. For a tasty recipe, try this brown sugar glaze that’s perfect for ham.
Everyday Ham Dishes for Family Meals
Ham is great for everyday meals too. It can be in casseroles or fresh salads. Diced ham in breakfast quiches or frittatas adds a hearty flavor.
Casseroles with ham, cheese, and veggies are comforting. Ham is a staple in my meal planning, offering delicious and healthy options.
Ham is a versatile ingredient for any meal. It’s perfect for both elegant dishes and simple, satisfying meals.
Conclusion: Enjoying Your Perfectly Cooked Ham
Cooking a ham can be very rewarding, even more so when it turns out perfectly. I hope this guide made the process fun and easy for you. It’s exciting to see how far you’ve come in cooking, just like I have.
Now, it’s time to share your delicious ham with others! Invite your family and friends to enjoy it with you. There’s nothing better than sharing a meal that brings everyone together. So, go ahead and invite them to your feast!
FAQ
How do I choose the right type of ham for my occasion?
Think about whether you want a bone-in ham for more taste or a boneless one for easier cutting. Semi-boneless hams are a great choice. They offer both flavor and ease of preparation, perfect for any event.
What tools do I need to cook a ham?
You’ll need a roasting pan, aluminum foil, a meat thermometer, and a basting brush. Having these ready before you start will make cooking easier.
How do I prepare a frozen ham for cooking?
Thaw a frozen ham in the fridge, giving it at least 24 hours for every 5 pounds. After thawing, scoring the ham can improve its taste and look.
What are some tips for glazing a ham?
Use glazes like brown sugar and honey or orange juice for extra flavor. Brush the glaze every 10-15 minutes during the last part of cooking to get a nice caramelized look.
How do I cook a ham properly without drying it out?
Keep an eye on the internal temperature. Cook bone-in ham at 325°F for about 10 minutes per pound. Aim for a final temperature of 140°F to keep it moist.
What herbs and spices work well with ham?
Rosemary, thyme, and garlic are popular choices. Marinating your ham in juices and spices overnight can also boost the flavor.
What are some good side dishes to serve with ham?
Try green beans, scalloped potatoes, and roasted veggies. Leftover ham is great in soups, salads, and sandwiches too!
What should I do if my ham is overcooked?
Always use a meat thermometer to check the temperature. Let the ham rest for about 20 minutes after cooking to keep it juicy.
How should I store leftover ham?
Wrap leftover ham tightly in foil or store it in an airtight container. It can last a week in the fridge. For longer storage, slice it and freeze in vacuum-sealed bags or airtight containers for up to three months.
Can I use ham for everyday meals beyond special occasions?
Yes! Ham is versatile and can be used in casseroles, salads, and breakfast dishes like quiches or frittatas. It’s a great addition to everyday meals.
