Sourdough bread is beloved for its tangy flavor, chewy texture, and crisp crust. But what if you’re following a gluten-free diet? Enter gluten free sourdough bread recipes, which offer the same delightful experience without the gluten. This guide will take you through everything you need to know about making your own gluten-free sourdough at home, from crafting a starter to troubleshooting common problems.
What is Gluten Free Sourdough Bread?
Gluten free sourdough bread is made without wheat, barley, or rye, making it a perfect choice for those with celiac disease or gluten intolerance. Unlike traditional sourdough, it uses a combination of gluten-free flours such as rice, buckwheat, and sorghum, allowing those sensitive to gluten to enjoy the benefits of sourdough without compromising their health.
Key Characteristics:
- Made using a gluten-free sourdough starter.
- Fermented for a natural leavening process, enhancing digestibility.
- Free from common allergens found in regular wheat-based bread.
Gluten free sourdough combines the best of both worlds: the nutritional benefits of fermentation and the absence of gluten, making it not only a delicious choice but a gut-friendly one as well. For more information on the benefits of fermented foods and why they’re great for gut health, check out this resource.
How Gluten Free Sourdough Differs from Regular Sourdough
While both types of sourdough rely on a fermented starter, gluten-free sourdough differs significantly in texture, flavor, and ingredients.
- Texture: Gluten free sourdough bread often has a denser crumb compared to its wheat counterpart. However, with the right flour blend and hydration levels, it can still achieve a pleasing lightness.
- Flavor: The absence of gluten proteins means the bread may have a slightly different flavor profile, often more neutral or slightly nutty, depending on the flour used.
- Preparation: Since gluten-free flours don’t provide the same elasticity, additional ingredients like psyllium husk or xanthan gum are often added to mimic gluten’s binding effect.
Choosing the right gluten-free flour blend can be a game-changer in terms of texture and flavor. For a deeper dive into the variety of gluten-free flours and their unique properties, this guide offers a great overview.
Essential Ingredients for Gluten Free Sourdough Bread

Creating the perfect loaf starts with selecting the right ingredients. Here’s what you’ll need:
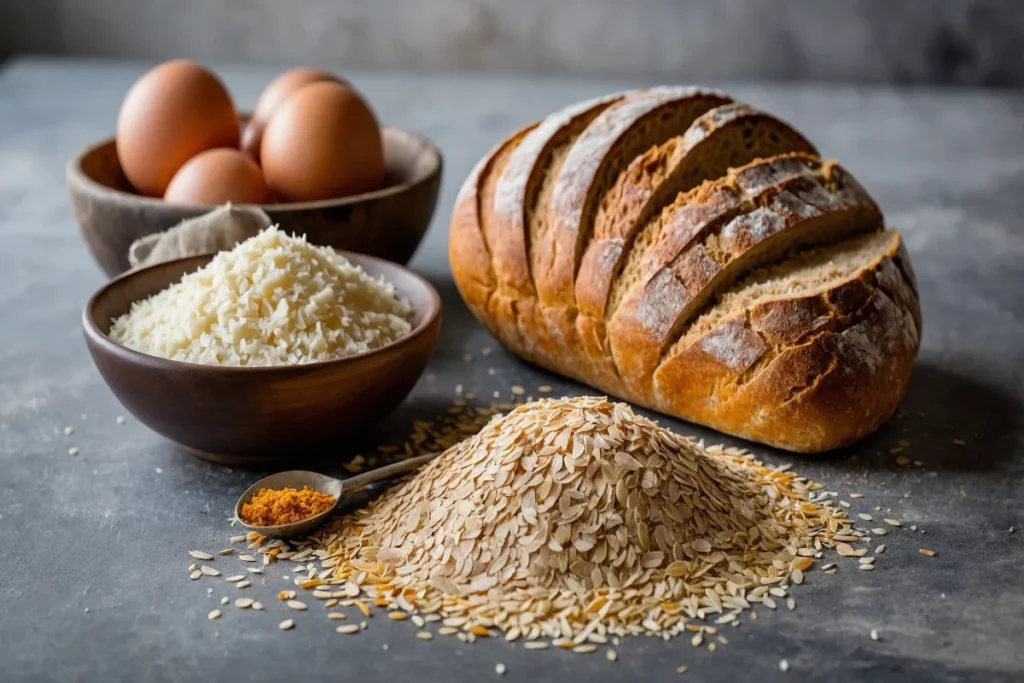
- Gluten-Free Flour Blend: A combination of flours such as brown rice flour, sorghum flour, and tapioca starch works best. This mix provides a balance of starch, protein, and flavor.
- Sourdough Starter: A fermented mixture of water and gluten-free flour that contains natural yeast and bacteria, responsible for leavening the bread.
- Psyllium Husk: Acts as a binding agent, improving dough structure and moisture retention. This fiber helps to mimic the elasticity typically provided by gluten.
- Salt: Enhances flavor and strengthens the dough.
- Water: Essential for hydration, affecting the dough’s consistency and fermentation process.
Optional Ingredients:
- Xanthan Gum: Helps bind ingredients together, adding to the elasticity of the dough.
- Apple Cider Vinegar: Adds a slight tang and can help in the bread’s rise.
- Honey or Sugar: A small amount can help feed the natural yeast in the starter, aiding in fermentation.
These ingredients work together to create a loaf that’s not only free of gluten but also rich in flavor and texture, closely mimicking traditional sourdough.
Choosing the Right Gluten Free Flour for Sourdough
Selecting the right flour blend is crucial in gluten-free sourdough baking. Different flours offer unique properties, so it’s often best to use a blend to achieve the desired balance of flavor, texture, and rise.
- Brown Rice Flour: A staple in many gluten-free blends, it’s mild in flavor and provides a good structure.
- Sorghum Flour: Adds a slightly sweet, nutty flavor and works well in combination with other flours.
- Buckwheat Flour: Despite its name, buckwheat is gluten-free. It offers a hearty, robust flavor and is nutrient-dense.
- Tapioca Starch: Adds chewiness and helps bind the dough, providing elasticity similar to that of gluten.
- Almond Flour: Adds moisture and a mild, nutty taste but should be used sparingly due to its high-fat content.
Each of these flours contributes to the overall texture and flavor of your bread. Combining them strategically can help replicate the experience of traditional sourdough.
Basic Gluten Free Sourdough Starter Recipe
Creating a gluten-free sourdough starter is the first step toward your bread-making journey. Here’s how to get started:
Ingredients:
- ½ cup of gluten-free flour (brown rice or sorghum)
- ½ cup of filtered water
Instructions:
- Day 1: In a glass jar, combine the flour and water. Stir until smooth, cover loosely, and let it sit at room temperature.
- Days 2-5: Each day, discard half of the starter and feed it with fresh flour and water. Stir well and cover again.
- Day 6: Your starter should be bubbly and have a slightly tangy aroma. It’s now ready to use in your sourdough recipes.
Maintaining a healthy starter requires regular feeding and care, even when not actively baking. This not only keeps the starter active but also improves the flavor of your bread over time. For tips on maintaining your sourdough starter, visit this guide.
Step-by-Step Guide to Gluten Free Sourdough Bread Recipes

Here’s a simple and foolproof recipe to make your first loaf of gluten-free sourdough bread.
Ingredients:
- 1 cup active gluten-free sourdough starter
- 2 cups gluten-free flour blend
- 1 cup water (adjust for dough consistency)
- 1 tsp salt
- 2 tbsp psyllium husk
Instructions:
- Mix the Dough: In a large bowl, combine the starter, water, and psyllium husk. Let it sit for 5 minutes to thicken. Add the flour blend and salt, mixing until a dough forms.
- First Rise: Cover the bowl with a damp cloth and let the dough rest at room temperature for 6-8 hours or until doubled in size.
- Shape the Loaf: Gently shape the dough into a round and place it on a parchment-lined baking sheet.
- Second Rise: Let the shaped dough rise for an additional 1-2 hours.
- Bake: Preheat your oven to 450°F (232°C). Score the top of the loaf with a sharp knife and bake for 30-40 minutes or until golden brown.
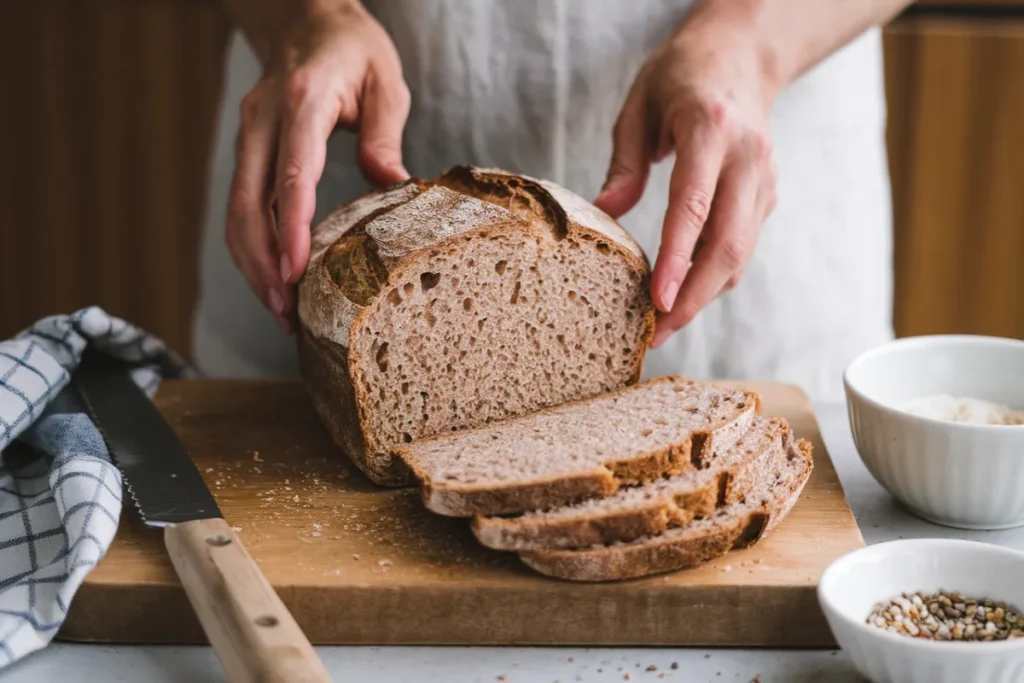
- Cool: Allow the bread to cool completely on a wire rack before slicing.
This method highlights the importance of patience, as sourdough takes time to develop its characteristic flavor and texture. Adjust the hydration as needed to ensure your dough isn’t too dry or wet, which can affect the final loaf.
Tips for Making Perfect Gluten Free Sourdough Bread
Creating the perfect loaf requires some trial and error, but these tips can help you achieve better results:
- Hydration Levels: Ensure your dough isn’t too dry; gluten-free flours require more water to hydrate properly. Adjust water amounts based on the humidity in your environment and the type of flours used.
- Room Temperature: Fermentation times can vary depending on the temperature of your kitchen. A warm environment (around 75-80°F) promotes better yeast activity and rise.
- Scoring: Use a sharp blade or razor to score the top of your loaf. This allows steam to escape during baking, leading to a better rise and a beautiful crust.
- Using a Dutch Oven: Baking your loaf in a covered Dutch oven helps retain steam, creating a crisp crust. Remove the lid halfway through baking to allow the top to brown.
Common Mistakes to Avoid
Avoiding common pitfalls can make all the difference in achieving a successful loaf:
- Overproofing: If left too long, the dough can collapse, resulting in a dense loaf with a sour flavor. Watch for when the dough has just doubled in size; this is the sweet spot for baking.
- Using the Wrong Flour Mix: Stick to tried and tested gluten-free flour blends that are designed for bread-making. Experimenting with random combinations can lead to poor results in texture and flavor.
- Dense Texture: A dense loaf is usually due to insufficient hydration or overproofing. Adjust water levels, proofing times, and add psyllium husk or xanthan gum for better structure.
- Skipping Psyllium or Xanthan Gum: These ingredients are crucial for binding and structure in gluten-free baking. Skipping them often leads to a crumbly texture.
How to Store and Keep Your Gluten Free Sourdough Fresh
Proper storage will keep your bread fresh and tasty:
- Room Temperature: Store in an airtight container or a bread bag for up to 3 days to maintain freshness and prevent the bread from drying out.
- Freezing: Slice the bread before freezing, and store slices in a sealed bag. This makes it easy to take out and reheat only what you need. To reheat, place slices in the oven or toaster for a fresh-from-the-oven experience.
- Avoid Refrigeration: Storing bread in the refrigerator can dry it out and cause it to go stale faster. Instead, opt for freezing if you need to keep it longer than a few days.
Nutritional Information and Health Benefits
Gluten free sourdough bread recipes offers a variety of health benefits:
- Low Glycemic Index: Sourdough fermentation helps lower the glycemic index, which means it has less impact on blood sugar levels.
- Enhanced Nutrient Absorption: The fermentation process breaks down phytic acid, which can inhibit nutrient absorption, making minerals like iron, zinc, and magnesium more bioavailable.
- Probiotic Benefits: Although most probiotics don’t survive baking, the fermentation process itself supports gut health by creating prebiotics that feed beneficial gut bacteria.
FAQs about Gluten Free Sourdough Bread
Is gluten-free sourdough bread healthier than regular sourdough?
Yes, it is often easier to digest and lower in glycemic index, making it a healthier alternative for those sensitive to gluten.
Can I make gluten-free sourdough without a starter?
A starter is essential for authentic sourdough, but you can use commercial yeast if you’re short on time.
Why is my gluten-free sourdough bread so dense?
A dense loaf is usually due to insufficient hydration or overproofing. Adjust water levels and proofing times for better results.
What is the best flour for gluten-free sourdough?
Brown rice flour, sorghum flour, and tapioca starch create a balanced and flavorful loaf.
How long does it take to make gluten-free sourdough from start to finish?
From creating the starter to baking the loaf, it can take up to 7 days for your first bread, with daily feeding of the starter.
Conclusion: Enjoying Your Homemade Gluten Free Sourdough
Making gluten free sourdough bread recipes at home is not only rewarding but also allows you to enjoy a healthier, homemade alternative to store-bought loaves. Experiment with different flour blends, maintain your starter, and enjoy the process of crafting delicious, gluten-free bread that everyone can savor.

